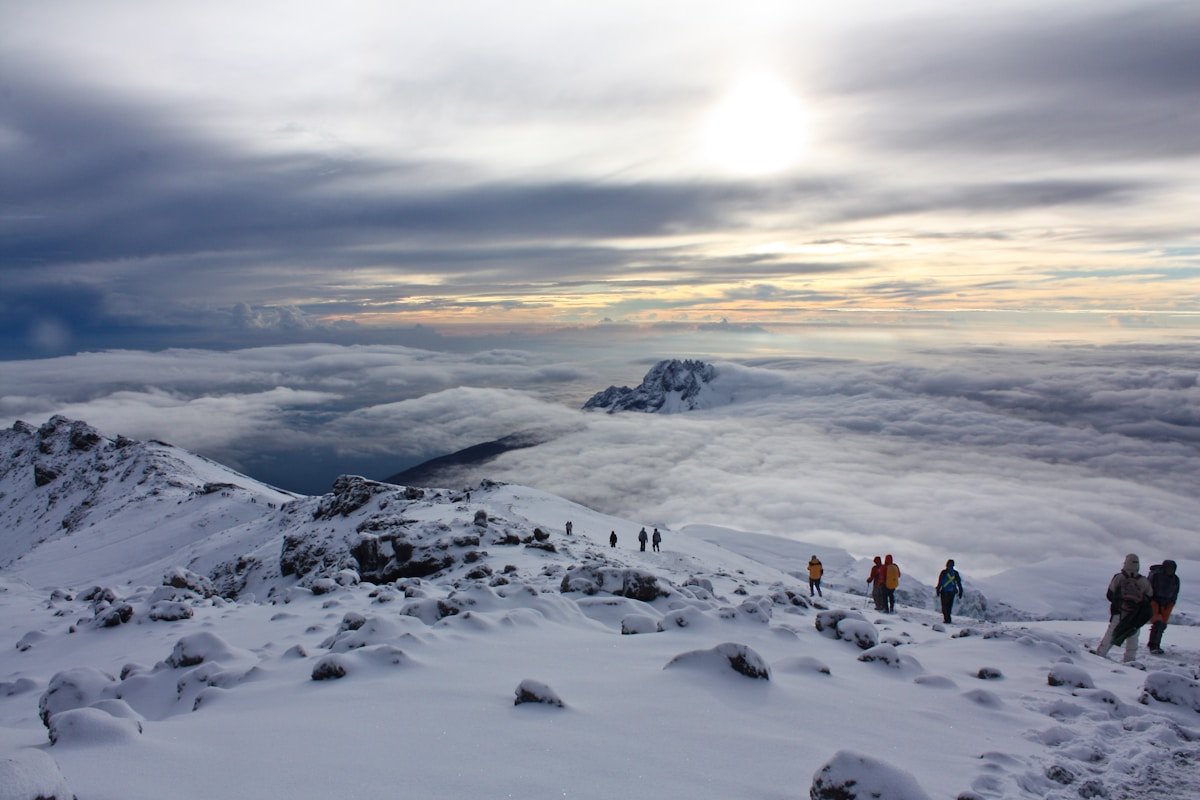
The Lemosho Route is widely regarded as Kilimanjaro’s best all-round option. It approaches from the remote western flank via the Londorossi Gate, crosses the ancient Shira Plateau at altitude, and joins the Machame corridor below Lava Tower - giving trekkers a longer, quieter, more varied climb than any other standard route. Seven or eight days. High success rates. Consistent views of all three volcanic cones.
If you have the time and can absorb the extra cost over Machame, Lemosho is the route to book.
Difficulty: Moderate to challenging Duration: 7 days (standard) or 8 days (recommended) Success rate: approximately 88–92% Approach: Western flank via Londorossi Gate (2,100m) Summit: Uhuru Peak (5,895m) via Stella Point Descent: Mweka Route
Altitude Profile
| Camp | Altitude | Night |
|---|---|---|
| Londorossi Gate | 2,100m | Pre-trek |
| Lemosho Glades / Forest Camp | 2,750m | Night 1 |
| Shira 1 Camp | 3,500m | Night 2 |
| Shira 2 Camp | 3,840m | Night 3 |
| Lava Tower | 4,630m | Acclimatisation excursion |
| Barranco Camp | 3,976m | Night 4 |
| Karanga Camp | 4,035m | Night 5 (8-day) |
| Barafu Camp | 4,673m | Night 5/6 |
| Uhuru Peak | 5,895m | Summit night |
| Mweka Camp | 3,100m | Final night |
| Mweka Gate | 1,650m | Descent |
The eight-day version adds a second Shira Plateau camp and a Karanga night, giving the body additional time to adapt at altitude. That extra day accounts for much of the difference between Lemosho’s success rate and Machame’s.
Why Lemosho?
Fewer trekkers. The Londorossi Gate is further from Moshi (approximately 90 minutes by road), which filters out operators running budget-optimised itineraries. You’ll share the first three days with very few other groups. From Barranco onward the trail merges with Machame - busier, but still more pleasant than the main southern approach in peak season.
Better acclimatisation. Crossing the Shira Plateau over two or three nights gives your body significantly more time at 3,500–3,840m before you face the 4,630m Lava Tower excursion. Studies on Kilimanjaro trekking consistently show that time spent at moderate altitude (3,500–4,000m) before pushing higher correlates with summit success.
Wider variety of landscapes. Lemosho passes through forest, heath, the Shira Plateau (an ancient volcanic caldera with its own sense of space and solitude), moorland, alpine desert, and arctic summit zone. Machame offers something similar, but Lemosho’s western approach extends the heath and moorland section considerably.
Day-by-Day Itinerary
Day 1: Londorossi Gate (2,100m) → Lemosho Glades Forest Camp (2,750m)
Distance: 5km | Time: 3–4 hours | Gain: +650m
The drive from Moshi to Londorossi Gate takes approximately 90 minutes. After permits and lunch, you enter Kilimanjaro’s rainforest on a narrow trail. This first afternoon is short by design - a gentle introduction to altitude gain. Camp in the forest. Buffalo and colobus monkeys are resident at this elevation.
Day 2: Forest Camp (2,750m) → Shira 1 Camp (3,500m)
Distance: 8km | Time: 5–7 hours | Gain: +750m
The forest thins and you emerge onto the Shira Plateau - a wide, wind-swept highland plain that feels like a different planet from the dense rainforest below. Shira 1 Camp sits at the plateau’s western edge. Temperatures drop noticeably at night; expect close to freezing by midnight.
Day 3: Shira 1 Camp (3,500m) → Shira 2 Camp (3,840m)
Distance: 7km | Time: 4–5 hours | Gain: +340m
A relaxed morning crossing the plateau. The southern face of Kibo (the main summit cone) fills the horizon ahead. Optional acclimatisation excursion from Shira 2: a 2–3 hour return walk to the Shira Cathedral (3,962m) helps prime your body for the higher altitudes ahead. Many operators include this as standard.
Day 4: Shira 2 Camp (3,840m) → Barranco Camp (3,976m) via Lava Tower (4,630m)
Distance: 11km | Time: 6–8 hours | Net gain: +136m (but gains and loses +790m and −654m en route
The acclimatisation centrepiece of the entire route. You push northeast across the Alpine Desert, climb to Lava Tower (4,630m) for lunch - the highest point so far and where AMS symptoms are most common - then descend to Barranco Camp (3,976m). The physiological effect of reaching 4,630m and descending to sleep at 3,976m is equivalent to an extra day of acclimatisation.
Day 5: Barranco Camp (3,976m) → Karanga Camp (4,035m)
Distance: 5km | Time: 4–5 hours | Gain: +59m
This is where the Lemosho trail joins Machame. The day begins with the Barranco Wall - a 300-metre scramble on steep volcanic rock. Guides assist at any exposed moves. Once above the wall, you traverse the southern cirque (a series of ridges and valleys) to Karanga Camp. An extra rest day or easy afternoon at Karanga means you arrive at Barafu fresh.
Note: On 7-day itineraries, operators often combine Days 5 and 6 into a single Karanga–Barafu day.
Day 6: Karanga Camp (4,035m) → Barafu Camp (4,673m)
Distance: 4km | Time: 3–4 hours | Gain: +638m
Arrive at Barafu by noon. Rest all afternoon. Your guide will brief the summit push: wake time, gear requirements, signs of altitude sickness to watch for. Eat well, hydrate, sleep as much as you can.
Summit Night: Barafu Camp (4,673m) → Uhuru Peak (5,895m)
Distance: 5km ascent | Time: 6–8 hours up, 3–4 hours to Barafu
Wake at 11pm–midnight. The trail climbs steeply through volcanic scree in complete darkness. Temperature at the crater rim typically falls to −15°C to −25°C. Trekkers who reach Stella Point (5,756m) on the crater rim are within 45–90 minutes of Uhuru Peak.
Uhuru Peak (5,895m) - Africa’s highest point. The glaciers here have retreated dramatically over the past 50 years; the ice fields that remain are otherworldly in the early morning light.
Descend to Barafu for a hot meal, then continue to Mweka Camp (3,100m) for your final night on the mountain.
Final Day: Mweka Camp (3,100m) → Mweka Gate (1,650m)
Distance: 9km | Time: 3–4 hours | Loss: −1,450m
Through forest back to the gate. Collect your summit certificate. The tip ceremony takes place at the gate - see the costs guide for recommended amounts.
Difficulty Assessment
Lemosho’s success rate advantage over Machame comes almost entirely from acclimatisation time, not easier terrain. Day-to-day, the routes are similar in gradient once they merge below Lava Tower. The Barranco Wall is the same. The summit push is the same.
What differs is how prepared your body is when you face those challenges. An extra two nights at Shira and Karanga can be the difference between turning back at Stella Point and walking the extra 45 minutes to Uhuru.
Bottom line: Lemosho is not necessarily harder than Machame - it’s longer and better designed.
Named Operators and Prices (as of 2026)
Lemosho carries a slight cost premium over Machame due to the extra day and the longer transfer to Londorossi Gate.
| Operator | 8-Day Price (approx.) | Notes |
|---|---|---|
| Zara Tours (Moshi) | $2,000–$2,500 | Budget option; experienced |
| Roy Safaris (Arusha) | $2,700–$3,200 | KPAP registered; reliable |
| Altezza Travel (Moshi) | $2,800–$3,500 | Tech tracking; strong reviews |
| Kilimanjaro Experts | $2,500–$3,000 | Small groups; attentive guides |
| Thomson Safaris (US) | $4,800–$6,000 | Premium; private camps |
All prices per person in a group of 2–4. Solo supplement applies.
Browse Kilimanjaro Lemosho Treks on GetYourGuide
| Tour | Duration | Approx. Price (per person) | Book |
|---|---|---|---|
| 7 Days Lemosho Route: Kilimanjaro Climbing Tour | 7 days | from USD 1,750 | Book |
Prices as of 2026. The 7-day Lemosho is the most common itinerary; an 8-day version with an additional acclimatisation night costs approximately USD 200–400 more. Compare all Kilimanjaro Lemosho packages to read verified summit accounts and compare operator inclusions.
Acclimatisation Tips
- Do the optional Shira Cathedral excursion on Day 3 - it’s worth the extra 2 hours
- Stay hydrated from Day 1; altitude dehydration compounds fatigue significantly
- If you feel a headache at Lava Tower, tell your guide immediately - this is normal but shouldn’t be dismissed
- Diamox (125–250mg twice daily) is widely used and reduces AMS risk; discuss with your doctor before departure
- On summit night, eat and drink at every rest stop even if you have no appetite
Packing List
The same kit applies as for Machame - a layered system rated to −20°C for the summit, waterproof shell, broken-in boots, trekking poles, and a headlamp. See the Machame Route guide for the full list. For Lemosho specifically, pack slightly more moisture-wicking layers: the western approach has longer stretches at altitude where you can sweat heavily in the midday sun before cooling sharply as clouds come in.
Sleeping bag recommendation: bring or rent a bag rated to −15°C minimum. The extra nights at Shira mean more cold nights earlier in the trek than on Machame. Before you book, ensure your Tanzania travel insurance covers high-altitude trekking to 5,895m and emergency medical evacuation.