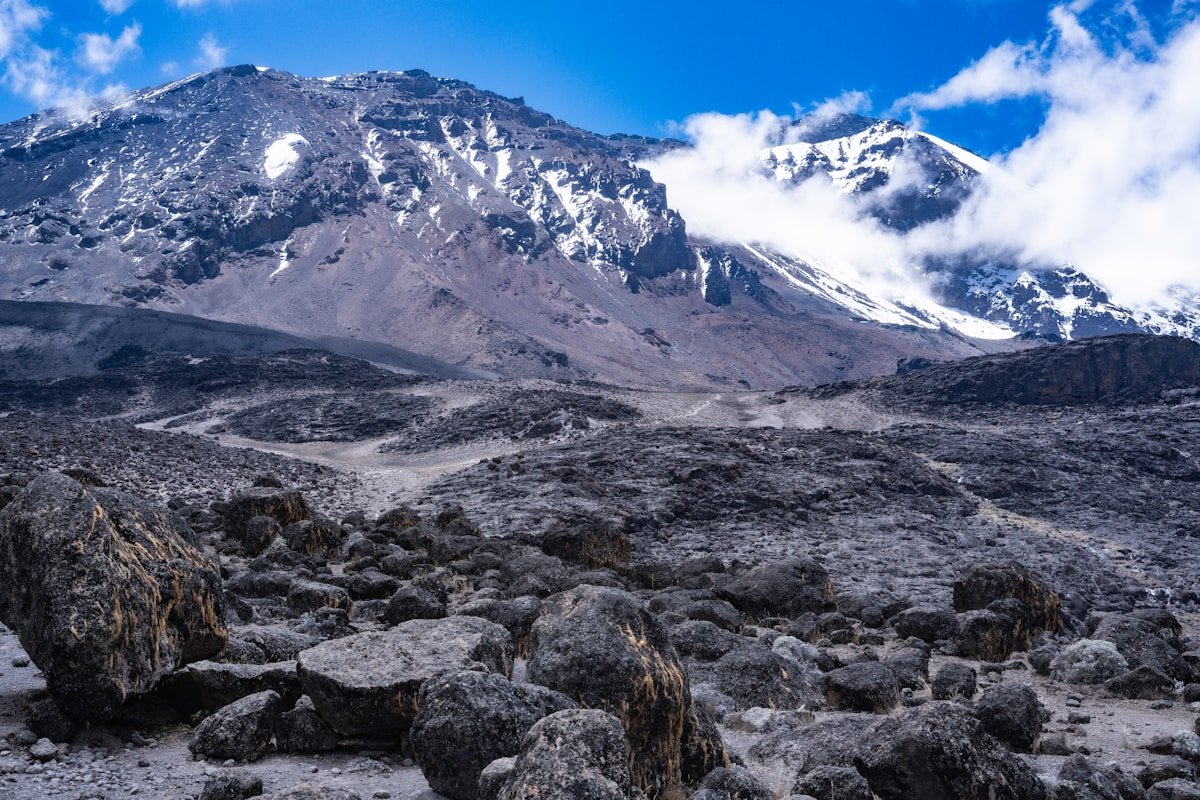
Every other major Kilimanjaro route approaches from the south or west. The Rongai Route is the exception. It starts near the Kenyan border, climbs Kilimanjaro’s drier, wilder northern flank, and descends via the Marangu trail after the summit. The result is a completely different experience from the popular southern routes - fewer trekkers, a drier climate, and striking views of the remote northern icefields.
Rongai is not the route with the highest success rate, but for the right trekker - someone who values solitude and a different perspective over maximum acclimatisation time - it’s a compelling choice.
Difficulty: Moderate Duration: 6 days (standard) or 7 days (recommended) Success rate: approximately 72–80% Approach: Northern flank via Rongai Gate (1,950m), near Loitokitok, Kenya Summit: Uhuru Peak (5,895m) via Gillman’s Point / Stella Point Descent: Marangu Route
Why the Northern Side Is Different
Kilimanjaro’s southern face catches moisture from the Indian Ocean - which means cloud, rain, and lush vegetation on routes like Machame and Lemosho. The northern face is in a rain shadow. Days are clearer, the landscape is drier and more sparse, and the walking zones feel wider and more open.
Practical implications:
- Better conditions during the long rains (April–May), when southern routes can be wet and muddy
- Views of the Kenyan plains from the northern camps
- Lower footfall - a typical Rongai group may encounter only 1–2 other groups on the lower trail
- The vegetation zones are similar but transitions happen at slightly different altitudes
- Summit push is the same as Marangu from Kibo Hut - no terrain advantage or disadvantage
Altitude Profile
| Camp | Altitude | Night |
|---|---|---|
| Rongai Gate | 1,950m | Arrival |
| Simba Camp | 2,626m | Night 1 |
| Second Cave | 3,450m | Night 2 |
| Third Cave | 3,850m | Night 3 (7-day only) |
| School Hut / Kibo Hut | 4,703m | Night 3/4 |
| Uhuru Peak | 5,895m | Summit night |
| Horombo Hut | 3,720m | Final night |
| Marangu Gate | 1,879m | Descent |
Note: Some operators use School Hut (4,750m) rather than Kibo Hut (4,703m) as the final camp before the summit. School Hut is slightly higher and less crowded.
Day-by-Day Itinerary
Day 1: Rongai Gate (1,950m) → Simba Camp (2,626m)
Distance: 7km | Time: 3–4 hours | Gain: +676m
The drive from Moshi to Rongai Gate takes approximately 2.5 hours via the border town of Marangu and the Kenyan crossing at Namanga. Most operators arrange an early morning departure to maximise the first trekking day. The gate is in a quiet zone - no buses, no gift shops, just forest.
The first day’s walk passes through farms and then enters the lower montane forest. Vegetation is drier and less dense than the southern face. You may see buffalo tracks on the trail. Simba Camp is a grass clearing above the forest line with open views north toward Kenya.
Day 2: Simba Camp (2,626m) → Second Cave (3,450m)
Distance: 9km | Time: 5–6 hours | Gain: +824m
The moorland zone opens as you leave the forest. Giant heather and patches of giant groundsel replace the trees. The trail is well-defined but less worn than Machame or Lemosho - more natural in texture. Second Cave is a rock overhang historically used as a shelter; the camp beside it sits at the lower edge of the Alpine Desert zone.
Sunset views from Second Cave across the Kenyan plains and toward Amboseli are one of Rongai’s distinctive features.
Day 3: Second Cave (3,450m) → Third Cave (3,850m) [7-day] or Kibo Hut (4,703m) [6-day]
Distance: 6km to Third Cave / 12km to Kibo Hut | Time: 3–4 / 6–8 hours
On the 7-day itinerary, you camp at Third Cave for an extra acclimatisation night at 3,850m. This is the difference that materially improves success rates on Rongai - and we recommend the 7-day without reservation. On the 6-day version, you push directly to Kibo Hut (4,703m) in one long day. That’s a 1,253m gain from Second Cave to Kibo in a single afternoon, which is steep physiologically.
Day 4 (7-day): Third Cave (3,850m) → School Hut or Kibo Hut (4,703–4,750m)
Distance: 7km | Time: 4–5 hours | Gain: +853m
Crossing the eastern side of the mountain above 4,000m. Vegetation disappears entirely. The trail traverses volcanic rock and ash across a dramatically open landscape. The summit cone fills your entire field of view ahead. School Hut (4,750m), used by some operators, offers a slightly higher final camp and slightly fewer trekkers than Kibo Hut.
Rest all afternoon. Summit briefing from your guide in the early evening. Eat and hydrate even without appetite.
Summit Night: Kibo Hut (4,703m) → Uhuru Peak (5,895m)
Distance: 6km ascent | Time: 6–8 hours up, 3–5 hours to Horombo on descent
From Kibo Hut, the Rongai summit trail merges with the Marangu Route - the same steep scree zigzag in darkness. Gillman’s Point (5,685m), Stella Point (5,756m), and Uhuru Peak (5,895m). The experience at the summit is the same regardless of which route you used to arrive at Kibo.
After the summit, descent follows the Marangu trail - a different trail from your ascent. You descend through the Saddle to Horombo Hut (3,720m) for your final night.
Final Day: Horombo Hut (3,720m) → Marangu Gate (1,879m)
Distance: 20km | Time: 6–8 hours
Long but straightforward. The Marangu trail is a busy, well-maintained path through moorland and then forest back to the gate. Summit certificate at the gate, tip ceremony for your guide team, transfer to Moshi.
Difficulty Assessment
Rongai’s terrain is gentler day-to-day than Machame. There is no Barranco Wall scramble, no Shira Plateau crossing, and the paths are wide and well-maintained. The main challenge is acclimatisation - Rongai’s standard 6-day profile compresses altitude gain in a way that affects success rates. The 7-day itinerary closes most of that gap.
Who Rongai suits best:
- Trekkers prioritising solitude over company on the trail
- Anyone climbing during April–May when southern routes are wetter
- Groups looking for a direct, uncrowded approach
- People who find scrambling uncomfortable (no Barranco Wall equivalent)
Who should consider Lemosho or Machame instead:
- Maximum acclimatisation seekers
- Those wanting the most varied landscape zones
Named Operators and Prices (as of 2026)
| Operator | 7-Day Price (approx.) | Notes |
|---|---|---|
| Zara Tours | $1,900–$2,300 | Budget option; dependable |
| Roy Safaris | $2,400–$2,900 | KPAP registered |
| Altezza Travel | $2,600–$3,100 | Good emergency protocols |
| Kilimanjaro Experts | $2,300–$2,800 | Small groups |
| Thomson Safaris | $4,200–$5,400 | Premium service |
Prices per person in a group of 2–4. Solo supplement typically 15–25%.
Acclimatisation Tips
- Choose the 7-day option - the Third Cave acclimatisation night makes a meaningful difference
- Drink 3–4 litres of water daily; the drier northern face can cause faster dehydration than you expect
- The absence of a “climb high, sleep low” day (like Lava Tower on Lemosho/Machame) means Rongai trekkers don’t get that automatic physiological boost - hydration and pace discipline compensate
- Diamox (125–250mg twice daily from Day 1) - discuss with your doctor
- Treat the views as a pace check: if you’re admiring the Kenyan plains without feeling breathless at rest, you’re pacing well
- Ensure your travel insurance covers trekking to 5,895m and helicopter evacuation before departure
When you’re ready to book, browse Kilimanjaro Rongai route packages and compare operators by group size, certification, and porter welfare policies.
Packing List
Same layering system as Machame - see the Machame Route guide for the full list. Rongai-specific notes:
- Sunscreen is especially important on the exposed northern face; the dry clear days mean strong UV exposure with minimal shade cover
- Gaiters are useful on the sandy/volcanic ash sections above 4,000m
- A fleece midlayer is non-negotiable for evenings at Second Cave and Third Cave; temperatures drop to near-freezing by nightfall even in dry season